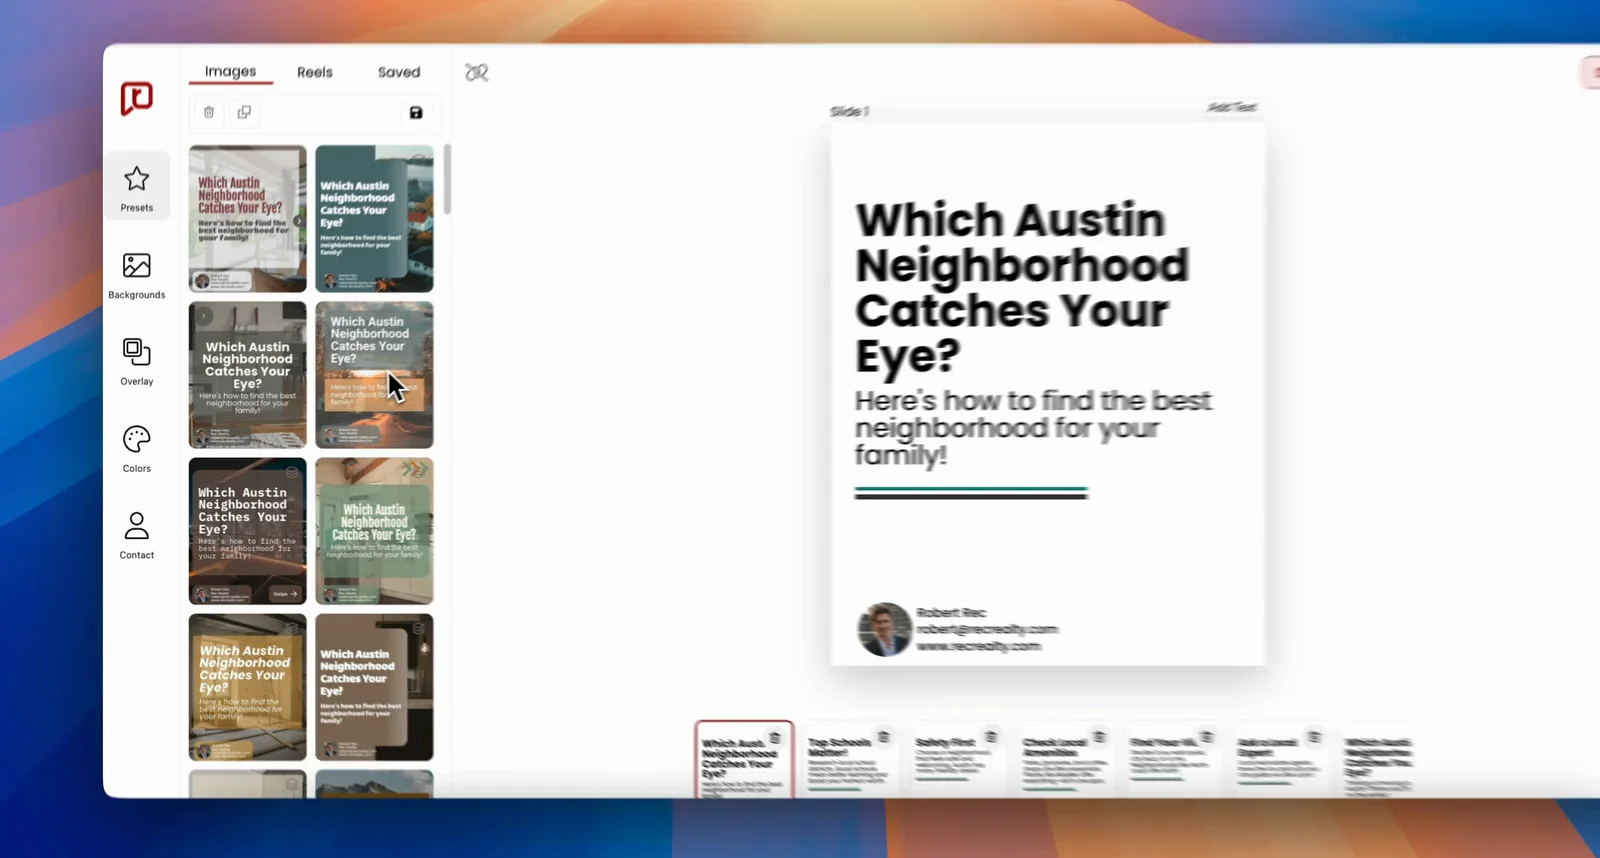
RealEstateContent.ai simplifies the process of adding your contact information, headshot, or logo to every social media post you create. By setting up this feature, your branding will be applied consistently and automatically to all of your posts, saving you time and ensuring uniformity. Follow this guide to learn how to upload and apply your contact details across your social media content or watch a video tutorial here.
Step 1: Access the Content Editor
- Select a Pre-Generated Post:
- Navigate to your content calendar within RealEstateContent.ai and select one of your pre-generated posts.
- Edit the Template:
- After selecting the post, click the “Edit Template” button located at the bottom of the previewed image. This will take you to the Content Editor dashboard.
Step 2: Add Contact Information, Headshot, or Logo
- Open the Contact Tab:
- On the left sidebar of the Content Editor, click on the “Contact” option located at the bottom left. This will open the Contact tab where you can manage your contact details.
- Upload Your Contact Information:
- In this section, you’ll find fields to input your:
- Name
- Phone number
- Website
- Headshot or company logo
- In this section, you’ll find fields to input your:
- Adjust Information Display:
- You can choose which contact details to display on each post by activating or deactivating specific fields. Additionally, you can resize the contact information and images (such as headshots or logos) to fit your post’s layout.
- Upload Headshot or Logo:
- To upload your headshot or logo, click on the upload box in the Contact tab. You can select an image from your files and upload it directly into the system.
Step 3: Save and Apply Contact Information
Save Your Changes:
-
- Once you’ve entered and customized your contact details, click “Exit” and then “Save” to apply the information to your post.
- After saving, RealEstateContent.ai will automatically apply your contact information, headshot, or logo to all future posts you create, ensuring your branding stays consistent across all social media platforms.
Need Assistance?
If you have any questions or run into any issues while setting up your contact information, don’t hesitate to reach out to our support team at support@realestatecontent.ai. We’re here to help you ensure your branding is seamlessly integrated into your social media content. By following these steps, you’ll ensure that your posts always include the necessary contact information, making it easier for potential clients to connect with you. Happy posting!